High-performance micrometers for the highest resolution
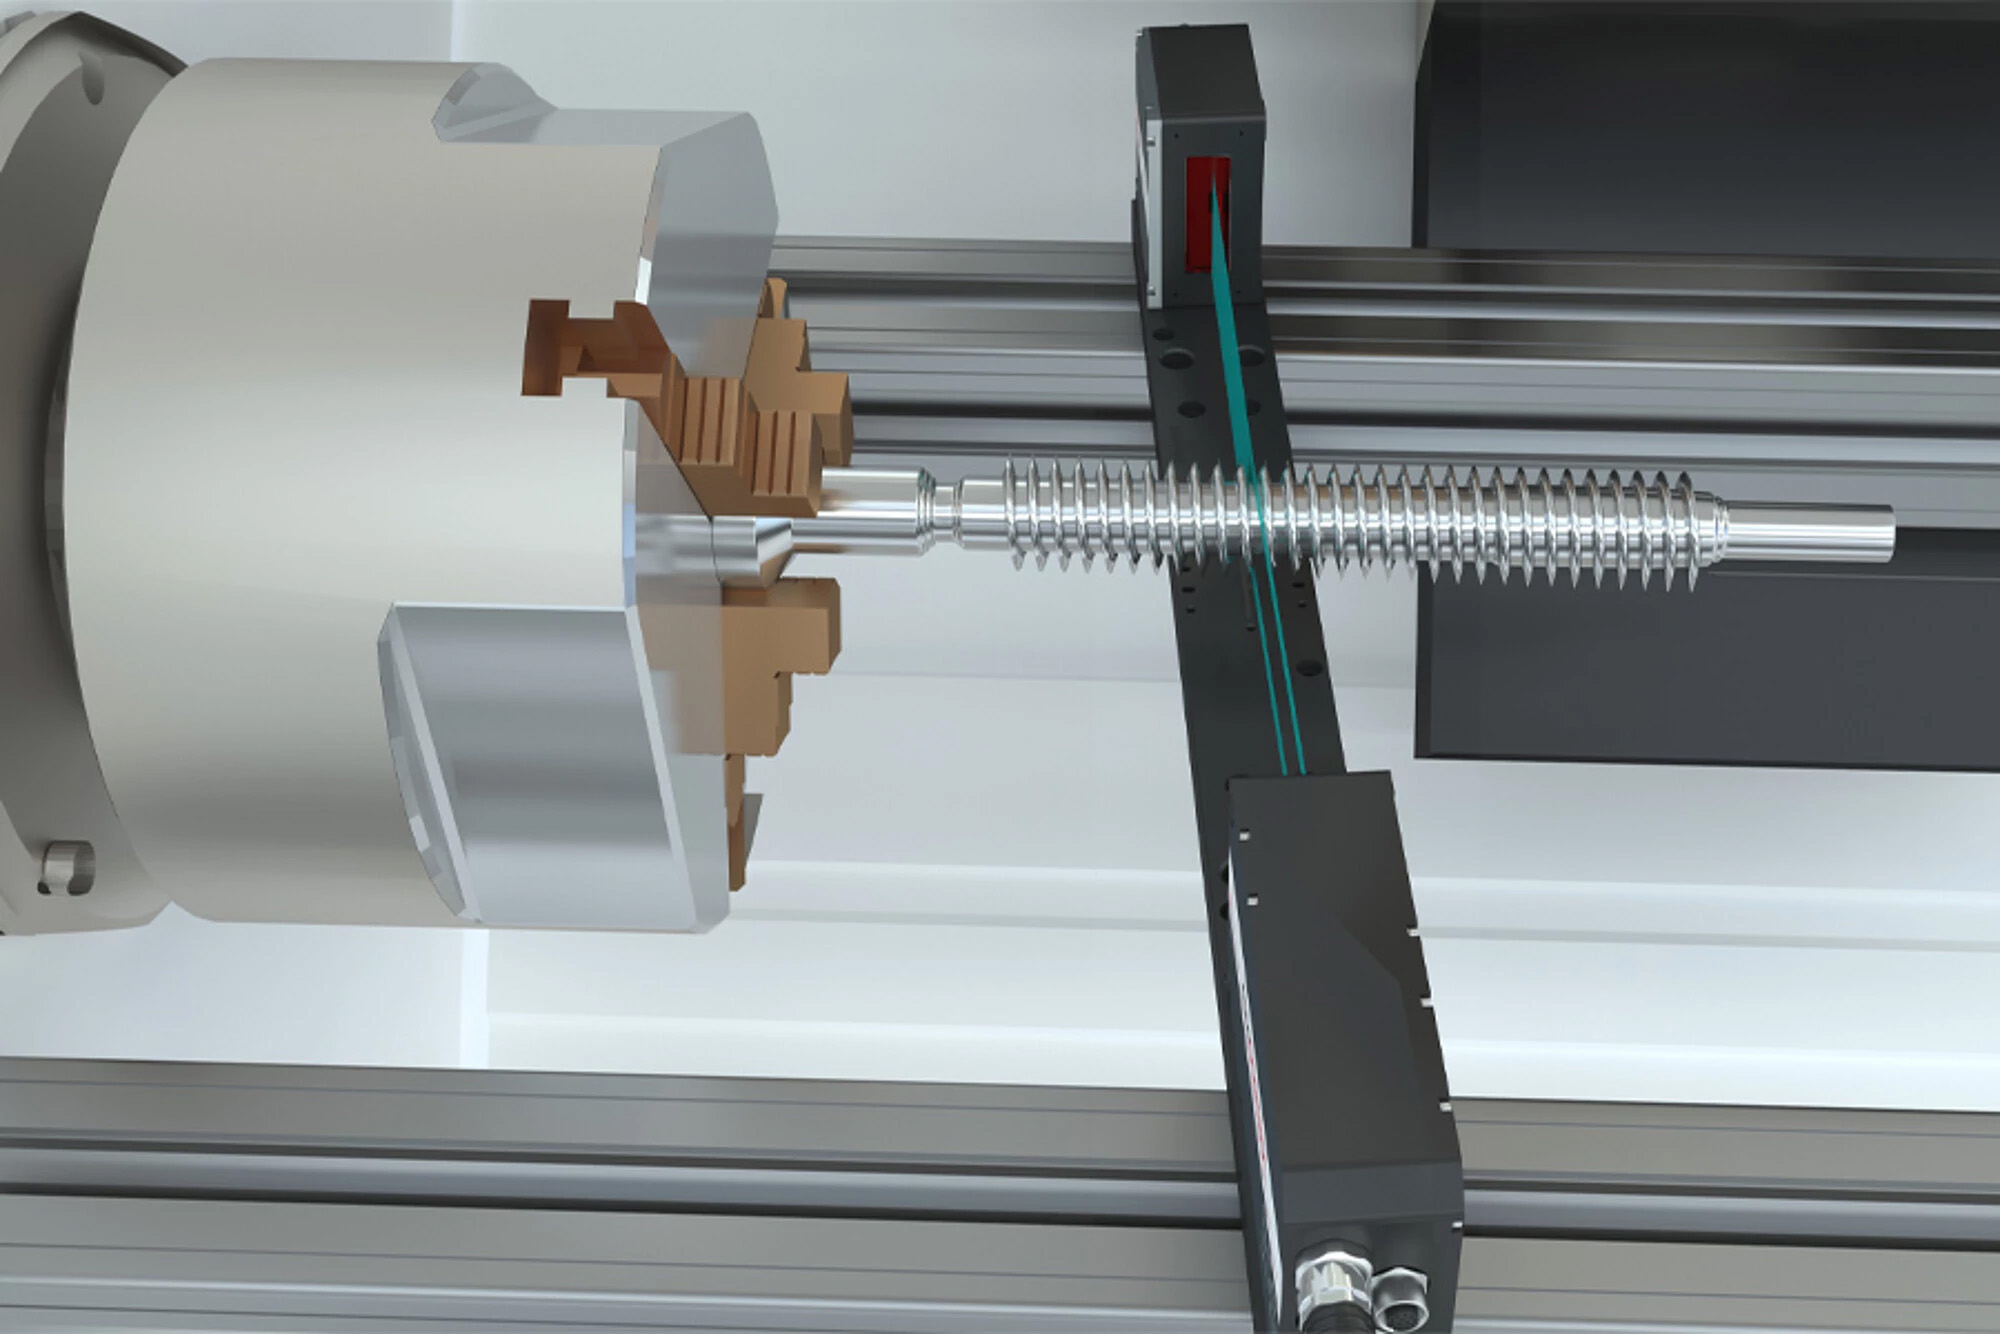
OptoCONTROL 2700 is a compact LED micrometer for precise measurement of diameter, gap, edge and section. The micrometer is characterized by high accuracy and a measuring range of 40 mm. Because the controller is integrated with the receiver, cabling and installation work are reduced to a minimum.
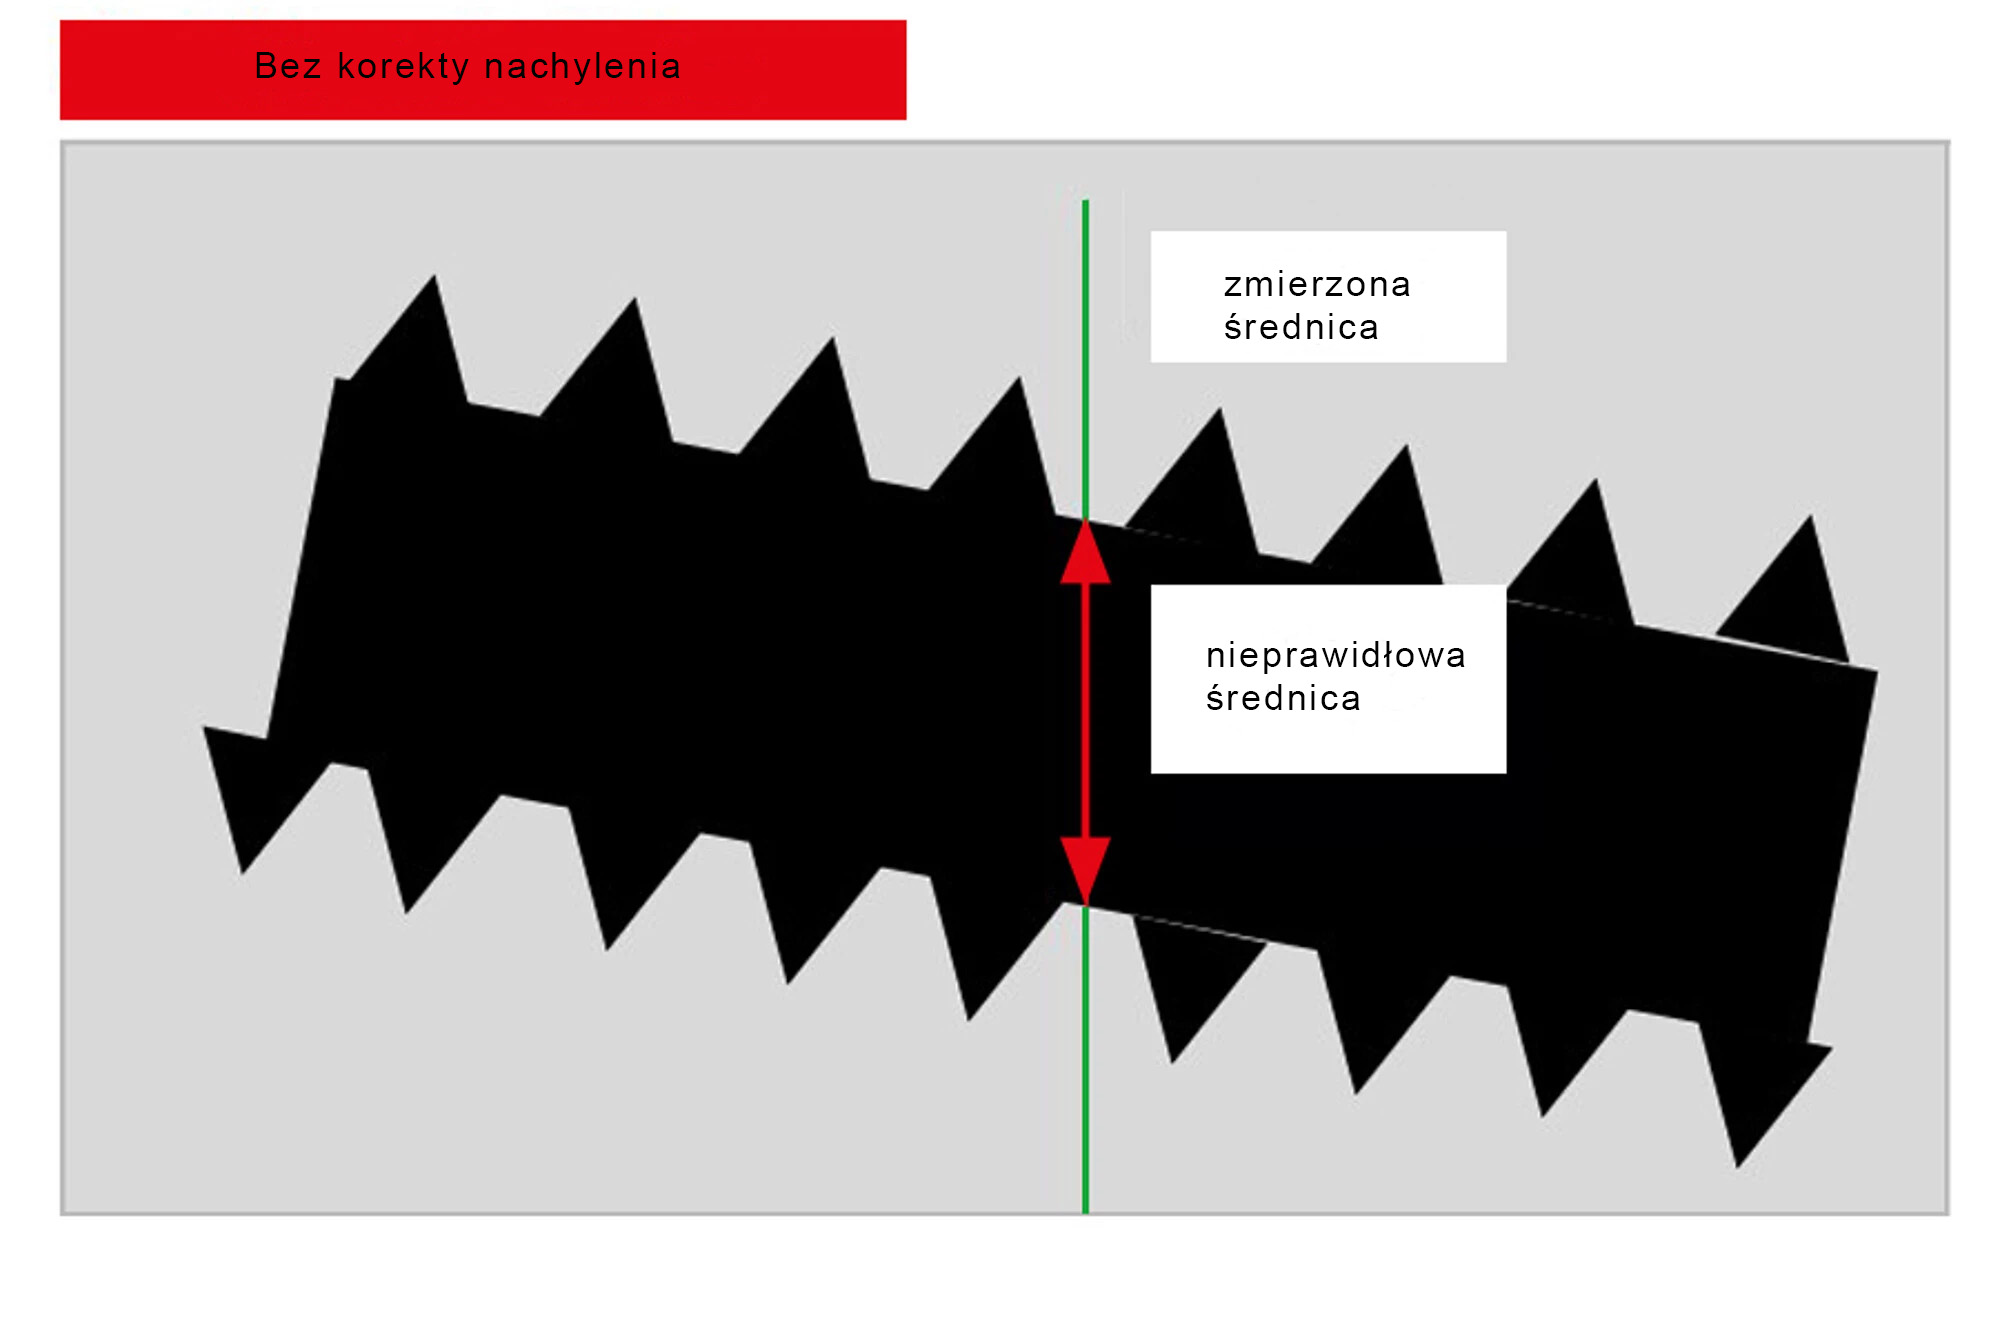
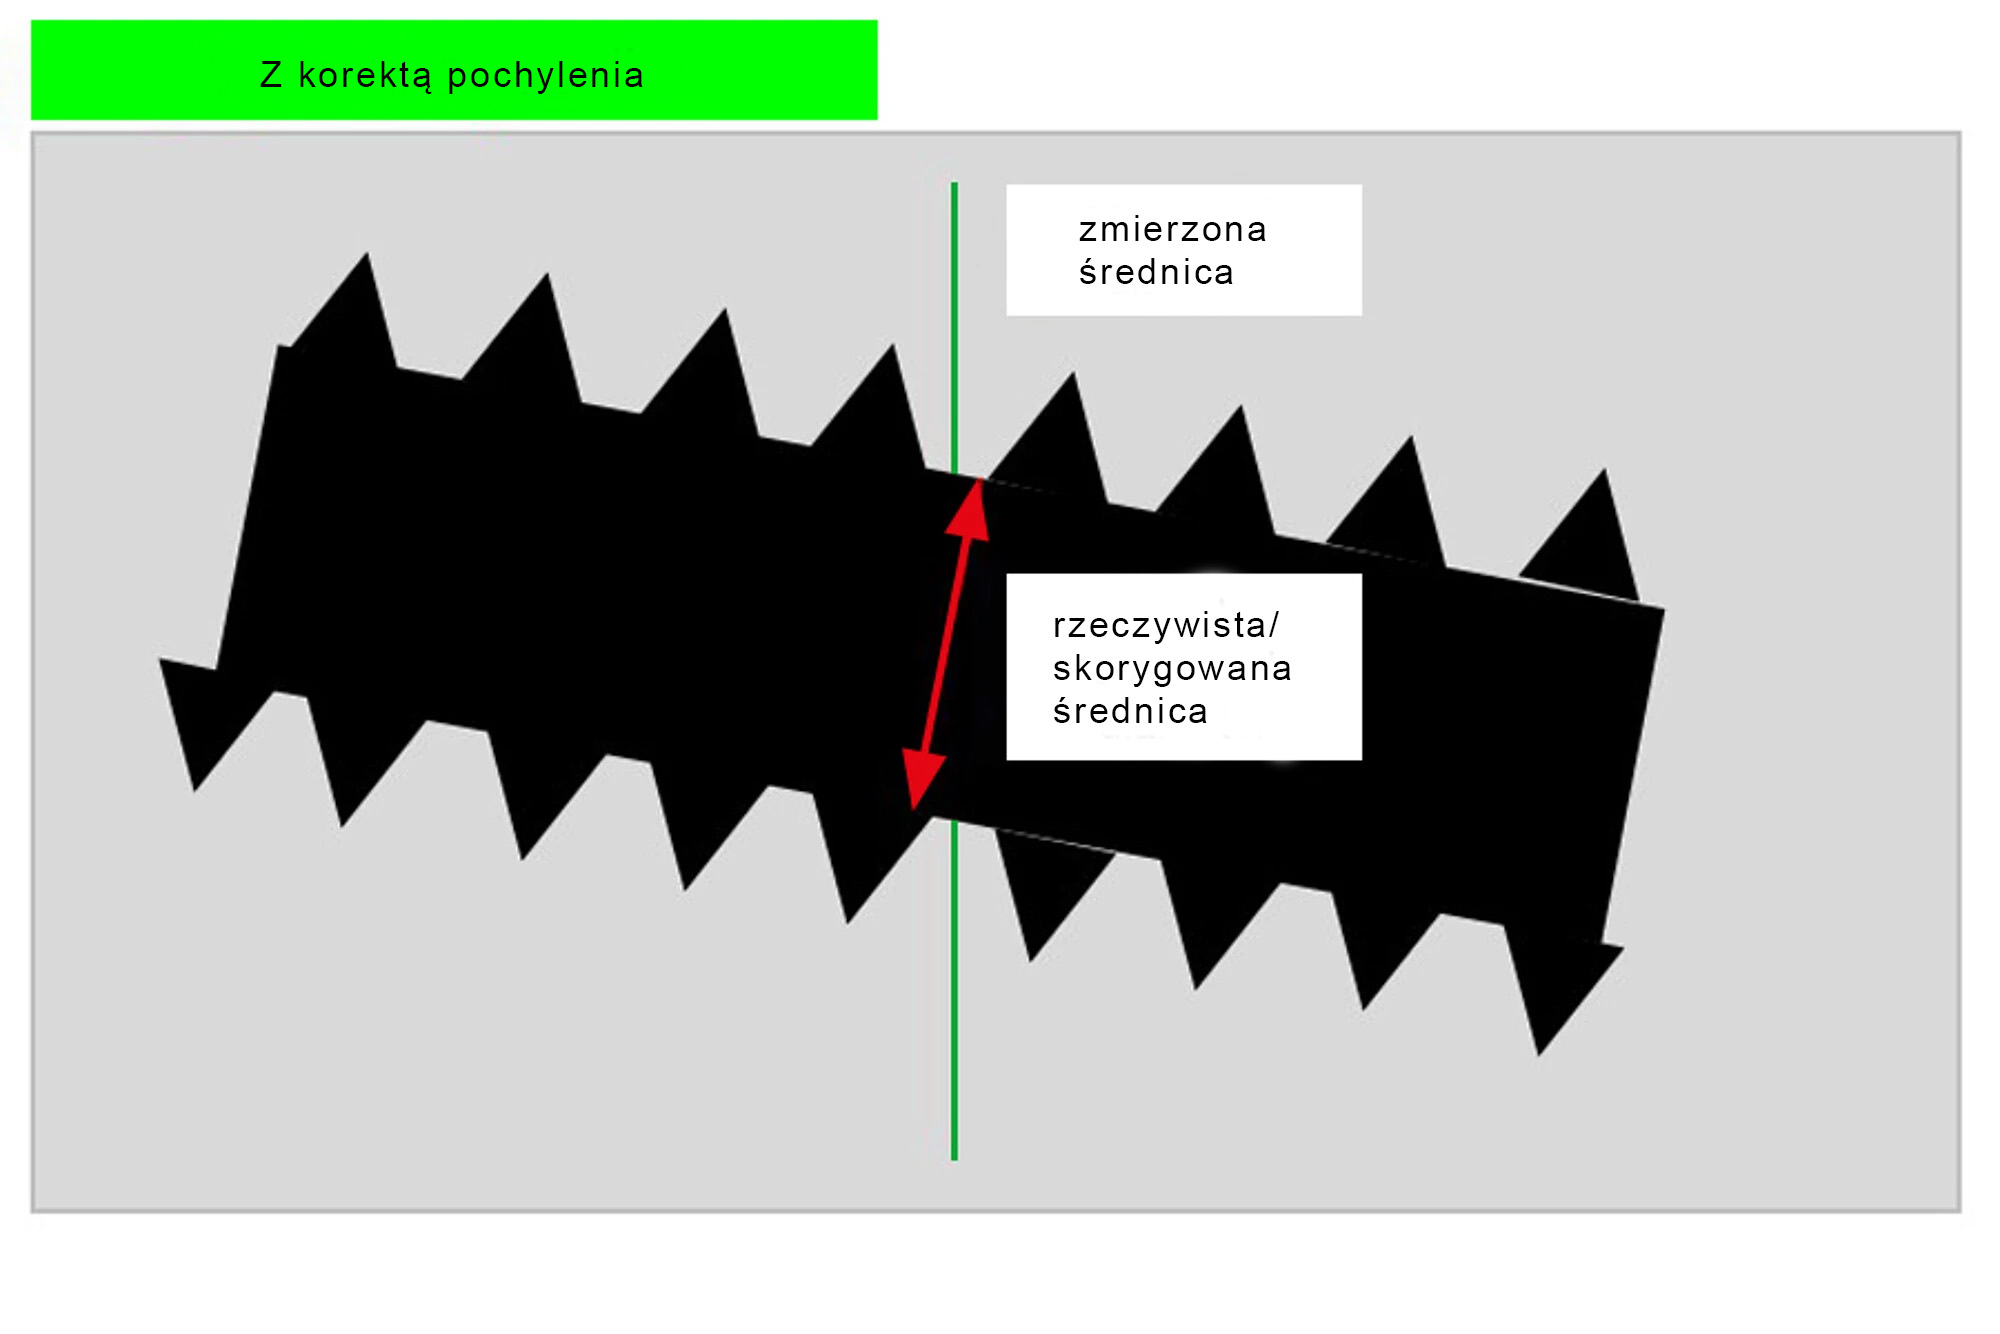
Thanks to active tilt correction, objects tilted at an angle of up to 45° are also detected extremely precisely. Configuration is conveniently done via the web interface and allows you to set video signal parameters, filter and various measurement modes. In setup mode, you can use a shadow image to easily align the measurement object. An excellent price-performance ratio completes the package of services offered.
Properties
- Measuring range: 40 mm
- 10nm submicrometer resolution
- Linearity ≤ 1 µm
- Exposure time: 8.5 µm
- Active correction of the inclination of the measurement object in real time
- Measurement of the angle of an object relative to the XY plane in a light beam
- Six presets for common measurement tasks
- A black and white image that makes it easier to align the measurement object using scaling
- Configurable via web interface
Active correction of the inclination of the measurement object
OptoCONTROL 2700 detects the exact position and angle of the measurement object. Thanks to the integrated analysis, the measurement value is automatically adapted to the inclination of the measuring object. As a result, an accurate measurement value is obtained. Slope correction is available for diameter programs. The detected image can be uploaded via the web interface and checked visually.
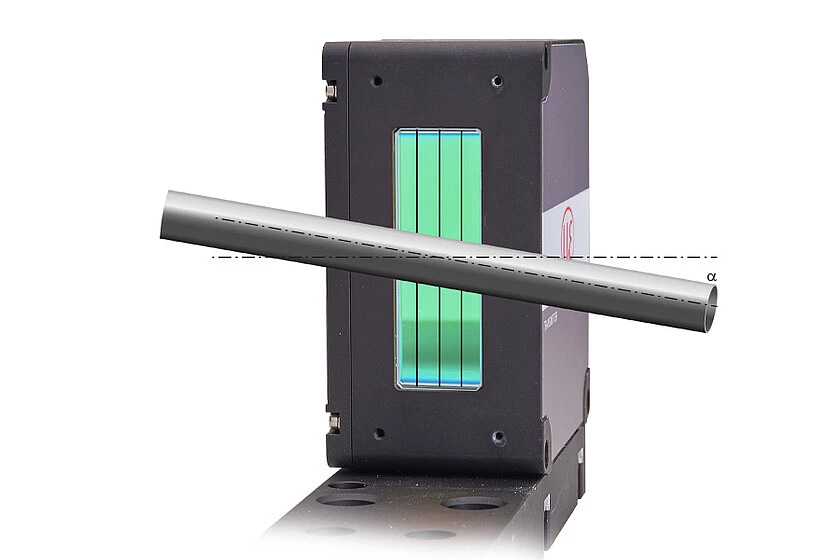
Measuring the angle of inclination of an object
If objects are not exactly at 90° within the measuring range, the optoCONTROL 2700 can precisely determine and report an inclination of up to 45°.
Simple operation via web interface and presets for typical applications
The entire configuration of optoCONTROL 2700 is done without additional software via an easy-to-use web interface. The web interface is accessible via an Ethernet connection and allows quick and easy settings, e.g. averaging, measurement speed or presets, and offers extensive parameterization options for each measurement task. With one click, saved presets allow you to quickly and easily parameterize the sensor specifically for your measurement task.
Black and white image for easy alignment with the measurement object
Accurate positioning of the measurement object in the light beam is quick and easy thanks to the configuration mode. The measuring object can be easily aligned using the integrated black and white image. This saves the user time and effort in setting and adjusting the exact position. The center of the measurement range is shown in both axes with a red line.
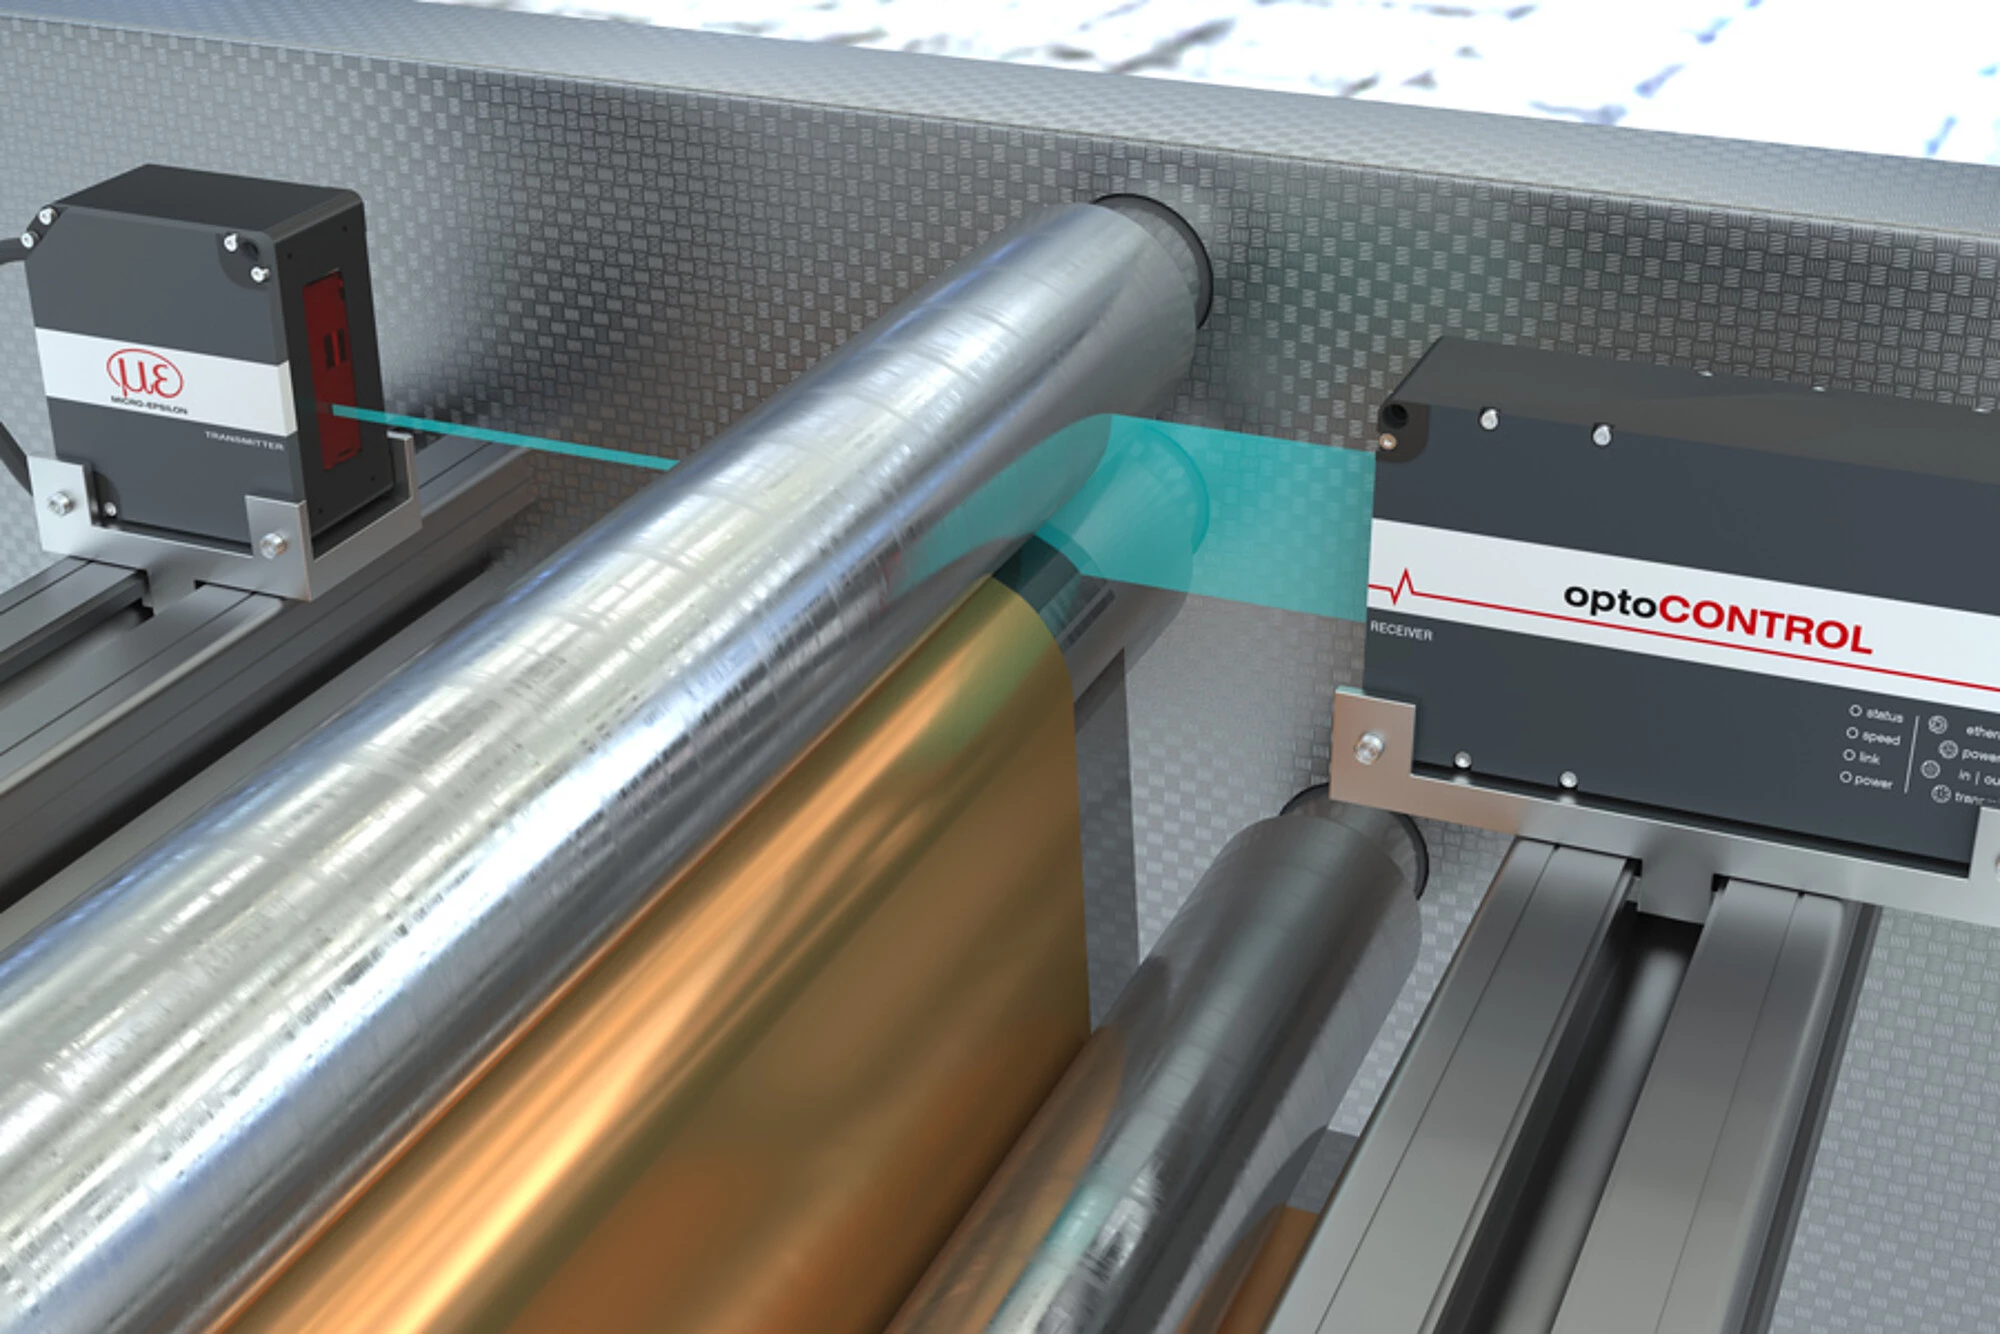
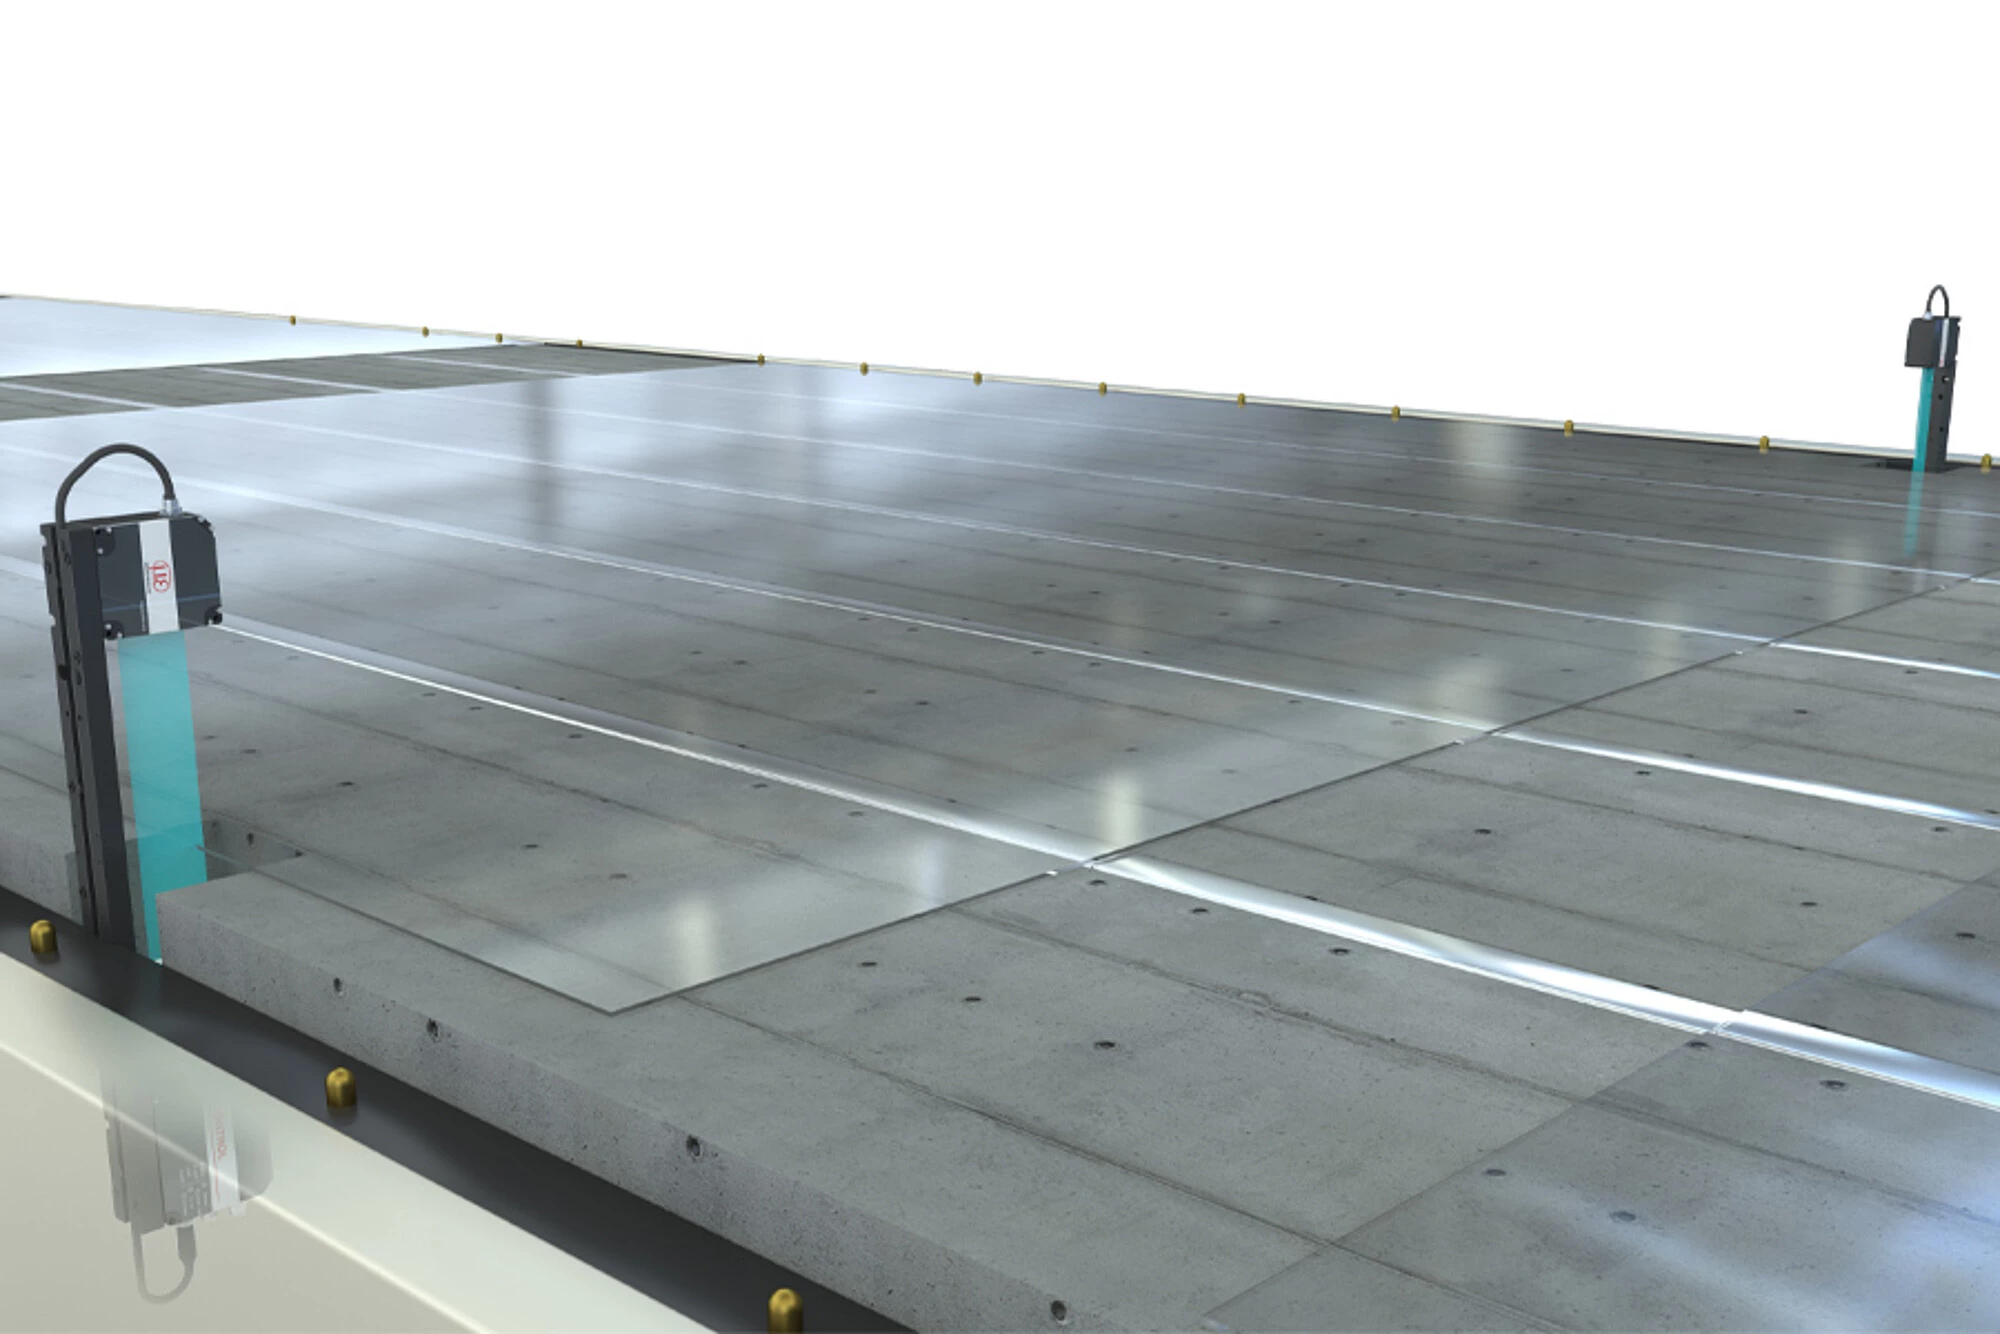
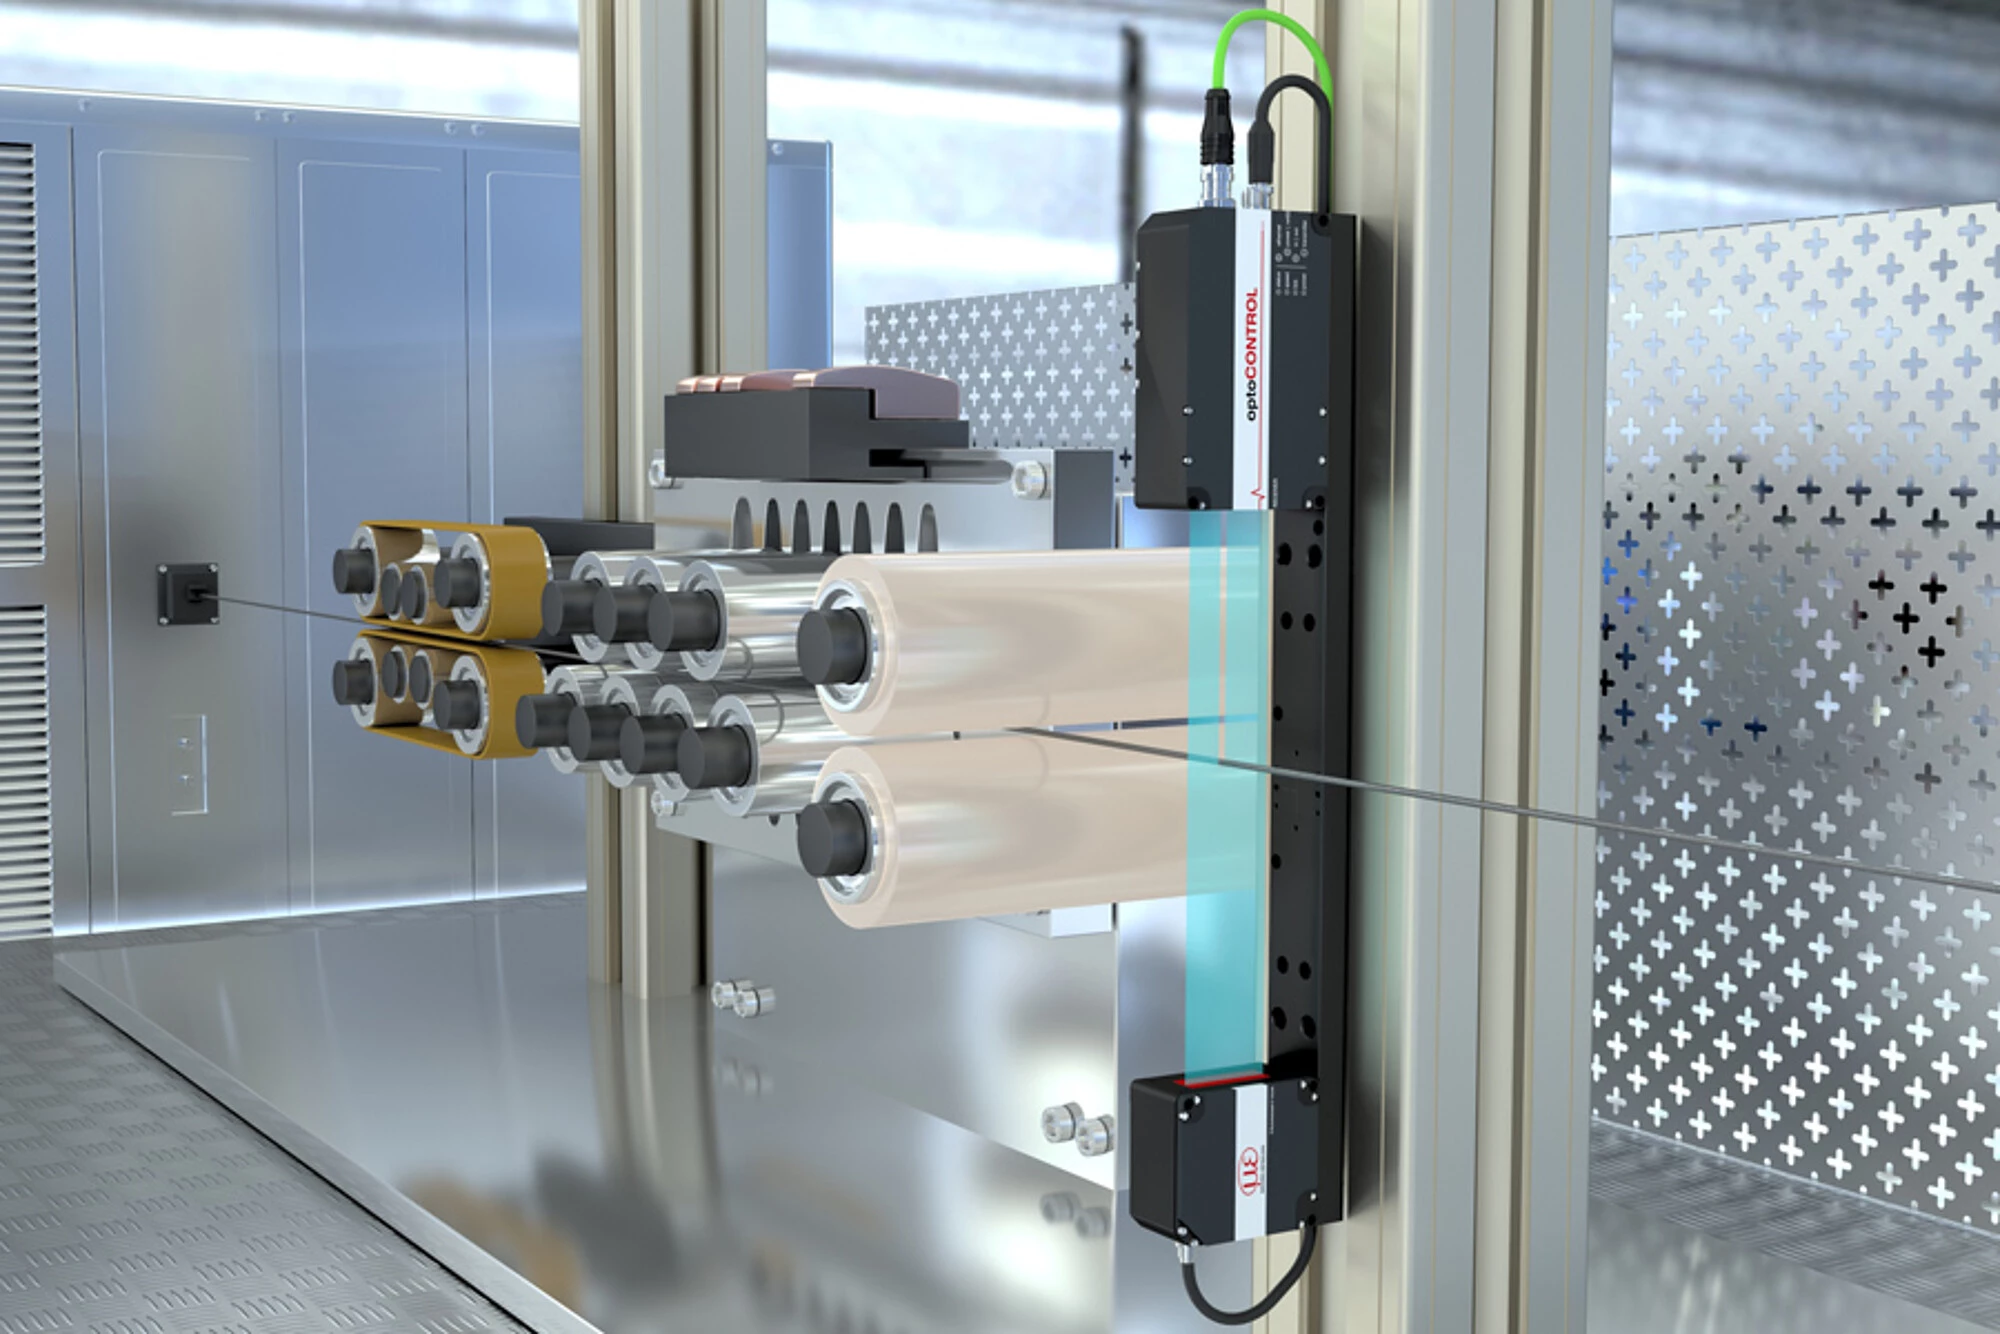
Application examples
