Internal cargo transport is an important process in the supply chain, but it does not bring added value in itself. It is a necessary expense. For this reason, and also due to the growing need for optimization and the shortage of qualified employees, this process is more and more often automated using, inter alia, autonomous mobile robots.
What if, however, add value to the transport processes?
In this article, we will show you how, using automatic transport, you can use the travel time to perform additional tasks - in this case, part quality control.
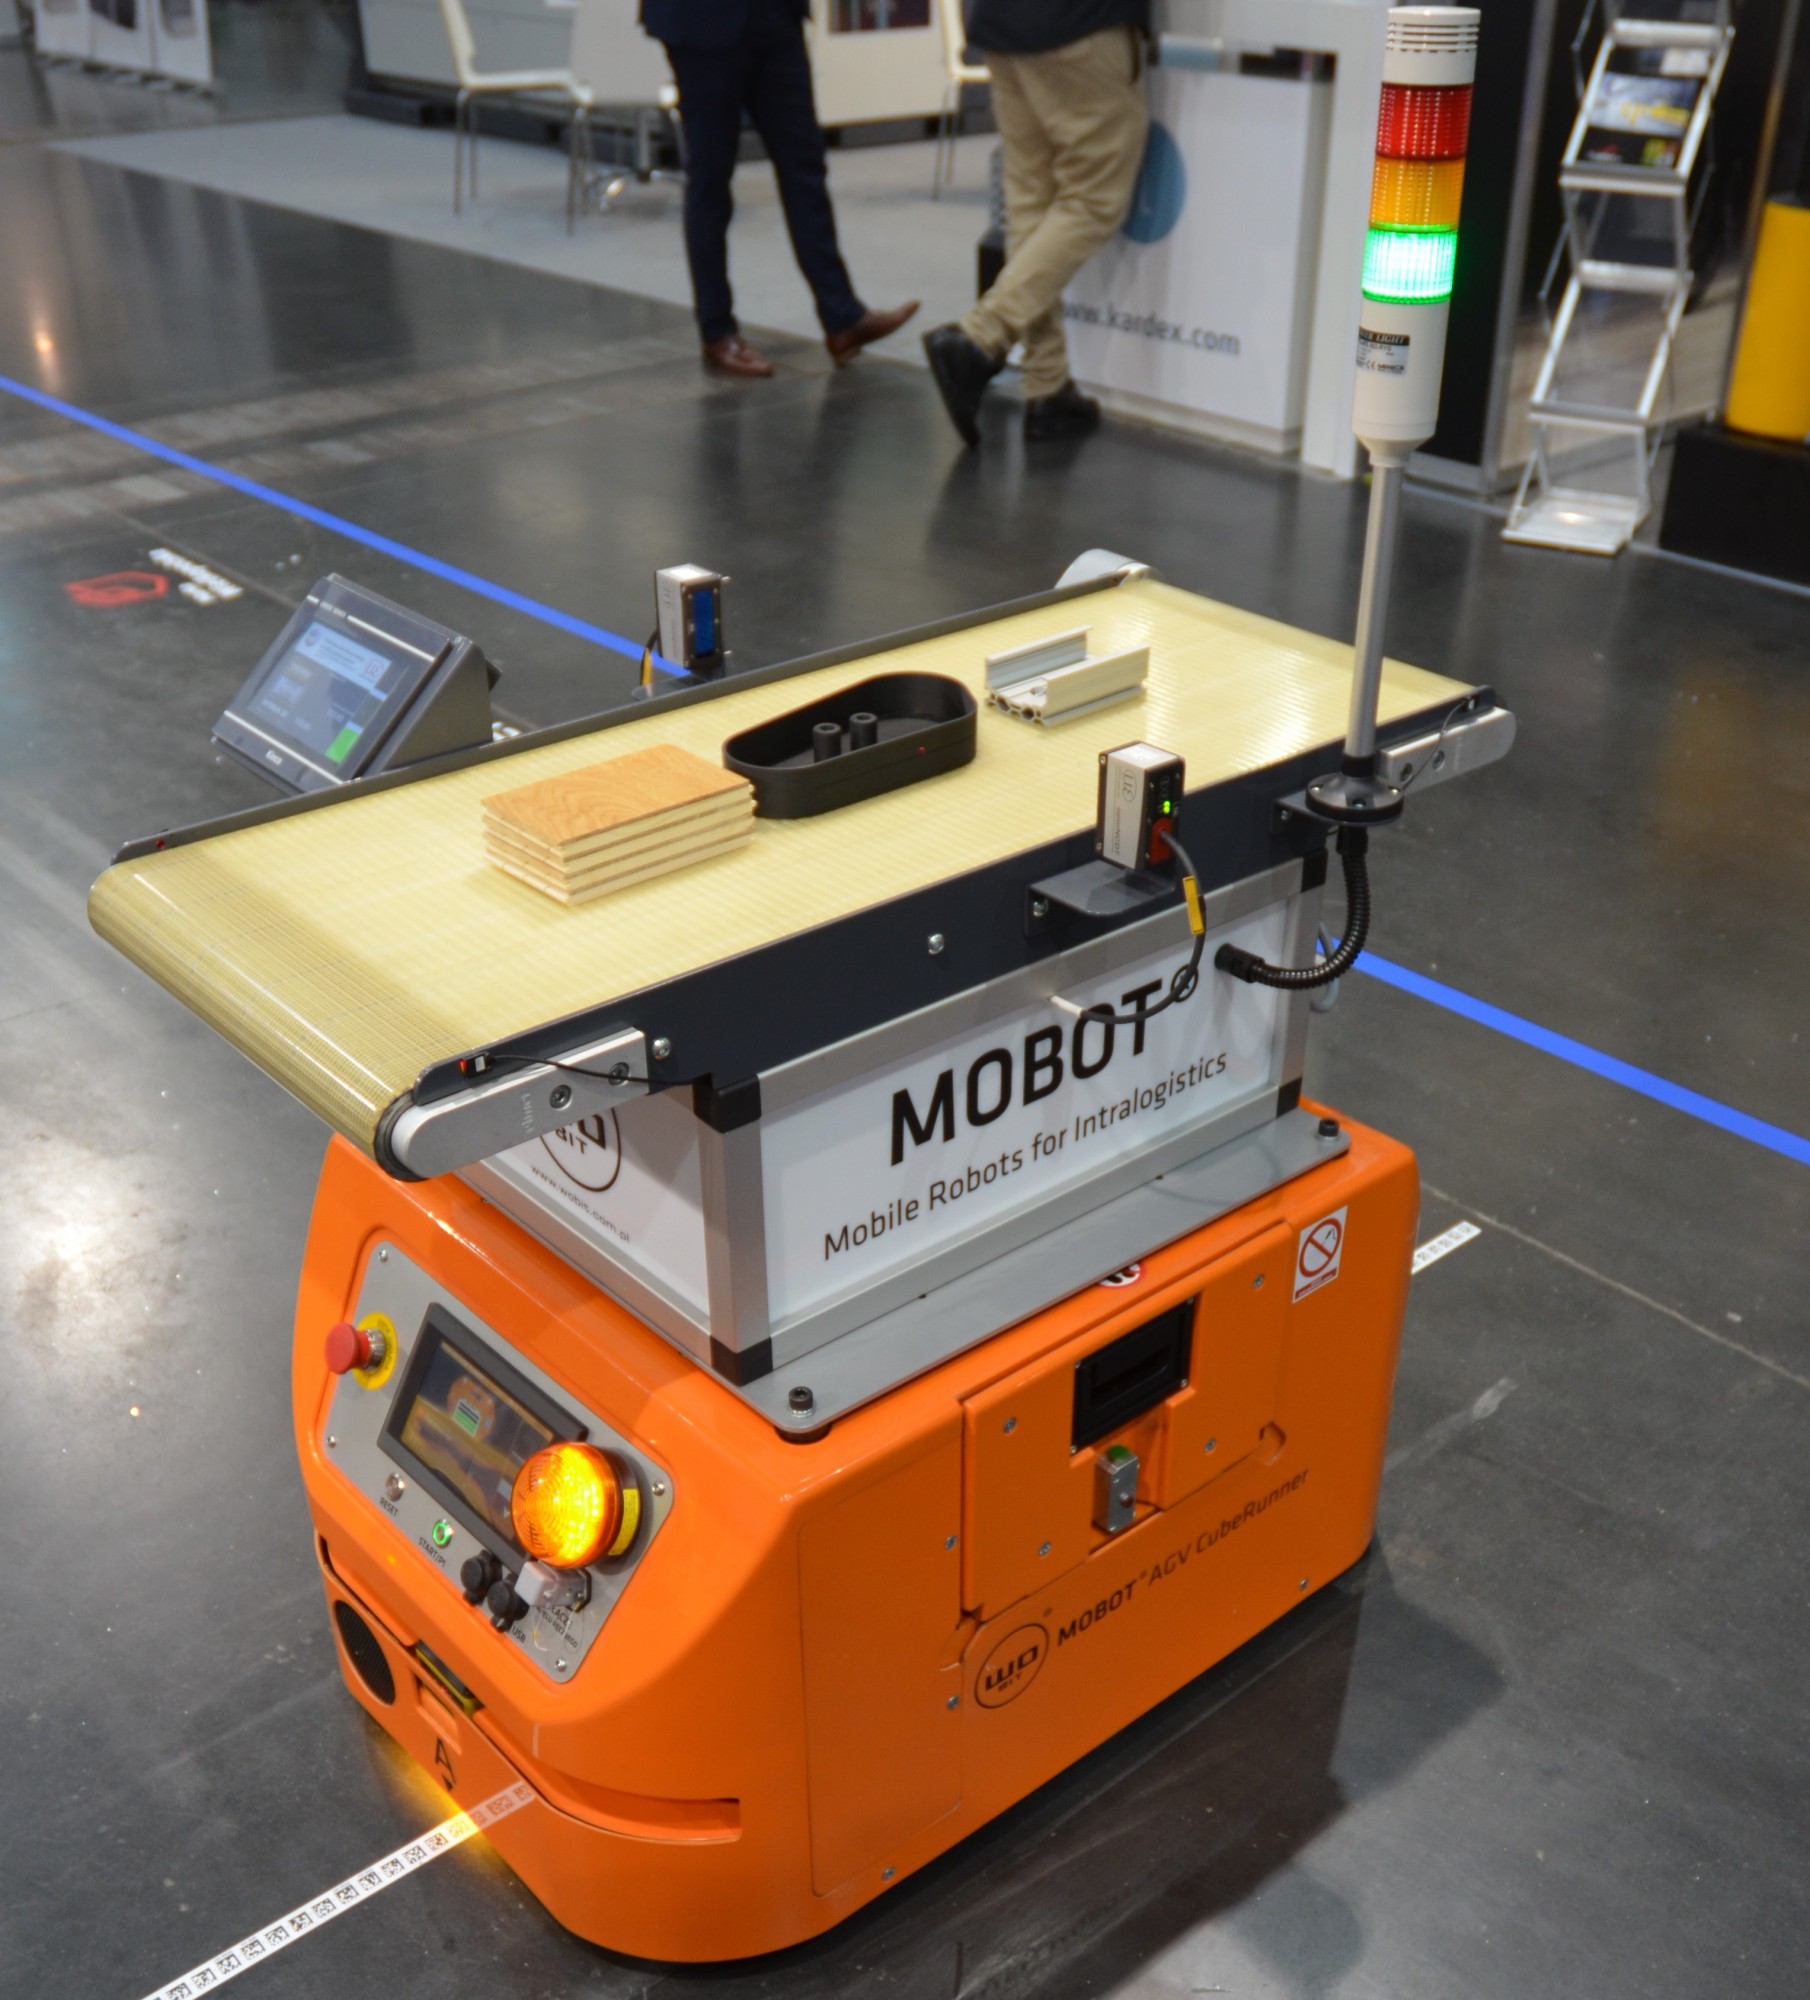
The discussed application was presented during the Modernlog 2021 fair in Poznań. The MOBOT® AGV CubeRunner2 mobile robot with a load capacity of up to 200 kg was used to transport the load in the presented task. The robot is equipped with an electrically powered belt feeder, powered by the robot's batteries. This feeder enables automatic picking up and depositing of loads from loading and unloading points, e.g. from other stationary feeders.
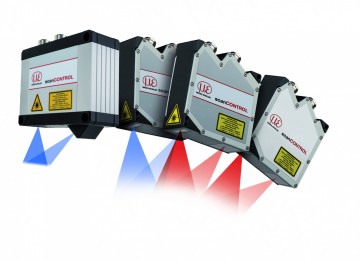
Two optoNCDT 1900 triangulation laser sensors with a measuring range of up to 25 mm are mounted on the feeder. The optoNCDT 1900 series of sensors manufactured by Micro-Epsilon is characterized by high precision - linearity up to 1 µm, repeatability <0.1 µm, adjustable measurement frequency up to 10 kHz, and a very compact design. The largest measuring range available is 500 mm. The innovative sensor is predestined for displacement, distance, and position measurements in automation, automotive, rail, robotics, 3D printing, and coordinate measuring machines.
With Advanced Surface Compensation, measurements are just as reliable regardless of the surface, from shiny metal to multi-colored, from light to dark, matt to glossy. The small measuring spot enables precise detection of even the smallest parts, and the compact and robust design allows mounting on the robot. It is worth paying attention to one more function, very useful in the discussed application, which is two-stage averaging in order to optimize the signal. High-performance averaging enables precise signal flow, especially important for high-speed measurements of moving parts.
The aforementioned optoNCDT 1900 sensors were mounted precisely opposite to each other to be able to verify the workpiece width using the differential measurement principle.
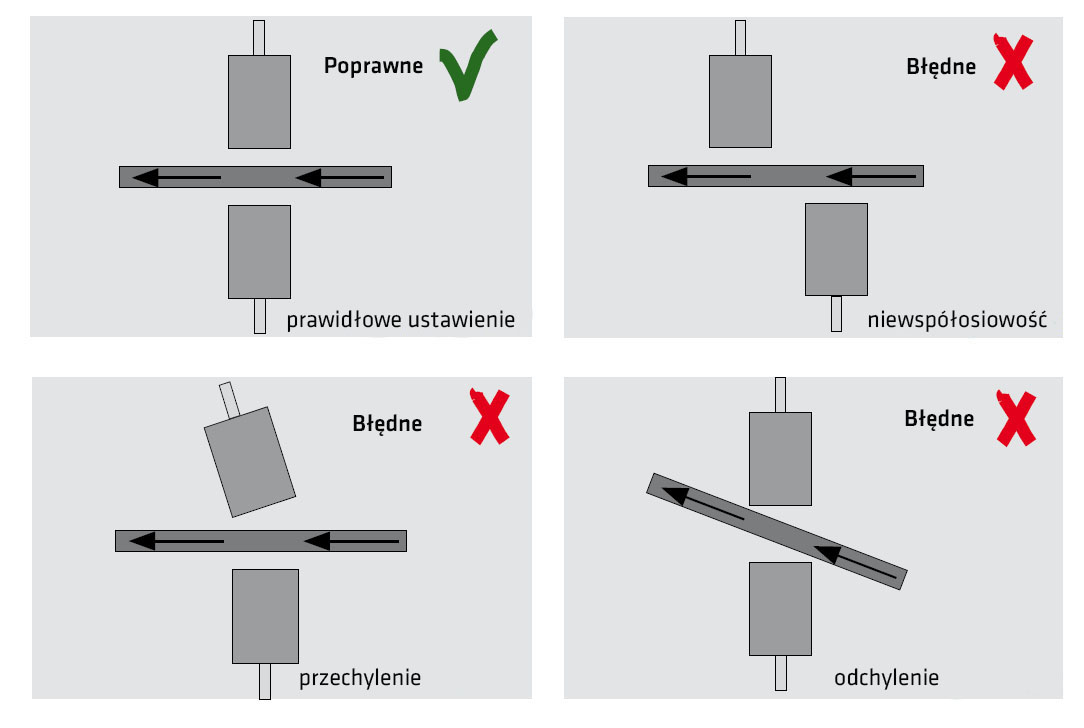
Displacement triangulation sensors measure distance, motion, and dimensions. If the measured values from two displacement sensors are evaluated together, the thickness/width of the object can be determined on this basis. However, to get an accurate target width determination from the combined signals of the two sensors, care must be taken to properly mount and align the sensors. Synchronization is also extremely important when measuring an object that is moving.
To avoid disturbance caused by the movement of the measured objects, both sensors must be synchronized to measure at the same time at exactly the opposite point of the object. If synchronization does not occur, faulty measurement data is generated. For example, micro-vibrations of a measured object may occur if the measurements are taken at different times, resulting in an error. To ensure proper synchronization in the discussed application, the C-Box / 2A controller was used, which enables the connection of 2 triangulation sensors simultaneously. As a result, the synchronization of two measurements is carried out at the same time. The output obtains a width measurement from the configurable analog output.
Then the data from the analog output are processed by the ADAE42-ETH measuring module. This universal module allows for independent measurement from 4 analog channels, it is equipped with a measurement averaging function, it also has mathematical functions implemented, enabling operation on measured values from analog channels. Next, the information is sent to the integrated HMI panel, where the data is displayed in real-time. In this application, 3 details are measured, each with different dimensions and a different material, i.e. a shiny metal detail, a plastic detail printed by a 3D printer, and a wood detail (organic material).
The visualization of the measurement has been prepared on the panel, and at the time of measurement, information about the actual width of the detail (in mm) is displayed for each type of detail. In addition, a three-color light column has been integrated on the robot, which informs about the correctness - compliance of the detail with the pattern or non-compliance - non-compliance with quality standards. The advanced surface compensation function ensures precise and repeatable measurements regardless of the material from which the detail is made.
The application presented above is an example of the fact that the moment of transporting details, especially between successive stages of the production cycle, can be used to perform additional tasks, such as quality control.By retrofitting the mobile robot with additional sensors or measuring systems, there is additional space for process optimization.
Will this solution work for you?Would you like to learn more about transport automation or measurement?Contact WObit specialists.
See our products
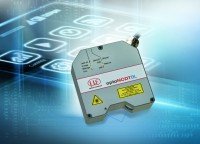 optoNCDT 2300-2DR
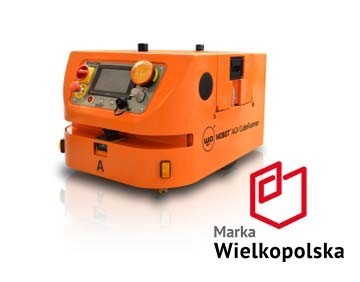 MOBOT® AGV CubeRunner2 004 mobile robot
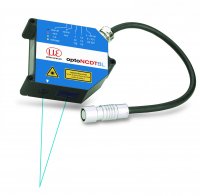 optoNCDT 2300BL
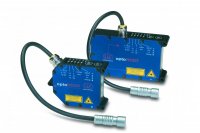 optoNCDT 1700
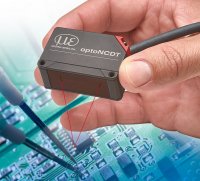 optoNCDT 1320
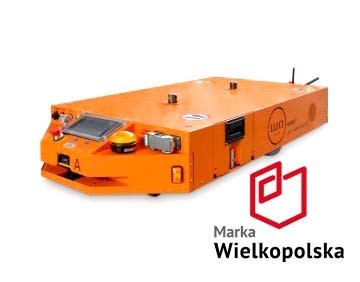 MOBOT® AGV FlatRunner HT 004 mobile robot
 optoNCDT 1610
 optoNCDT 2300 Laser triangulation displacement sensor
 optoNCDT 1420 CL1
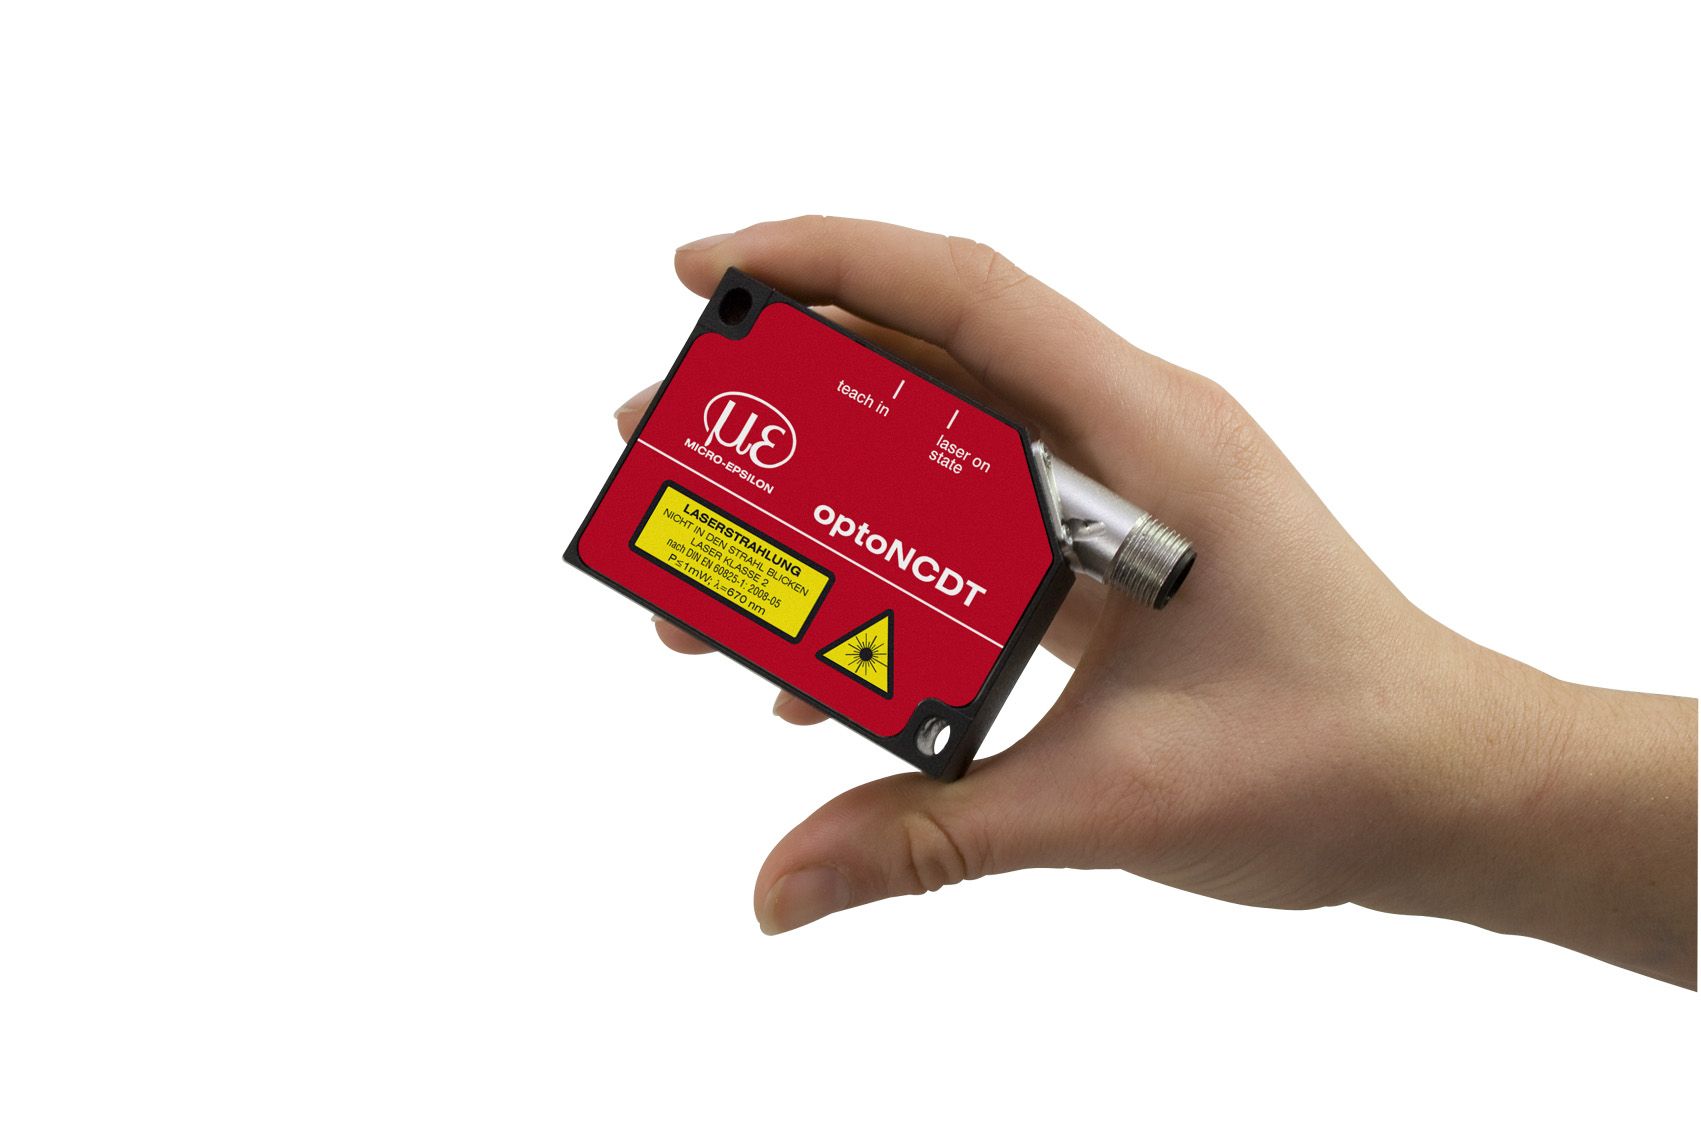 optoNCDT 1302
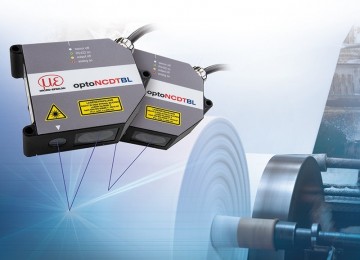 optoNCDT 1700BL
 optoNCDT 1402SC
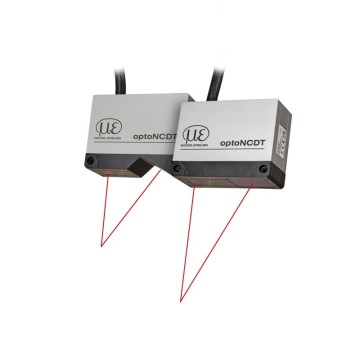 optoNCDT 5500 Laser triangulation displacement sensor
 optoNCDT 1630
 optoNCDT 1402
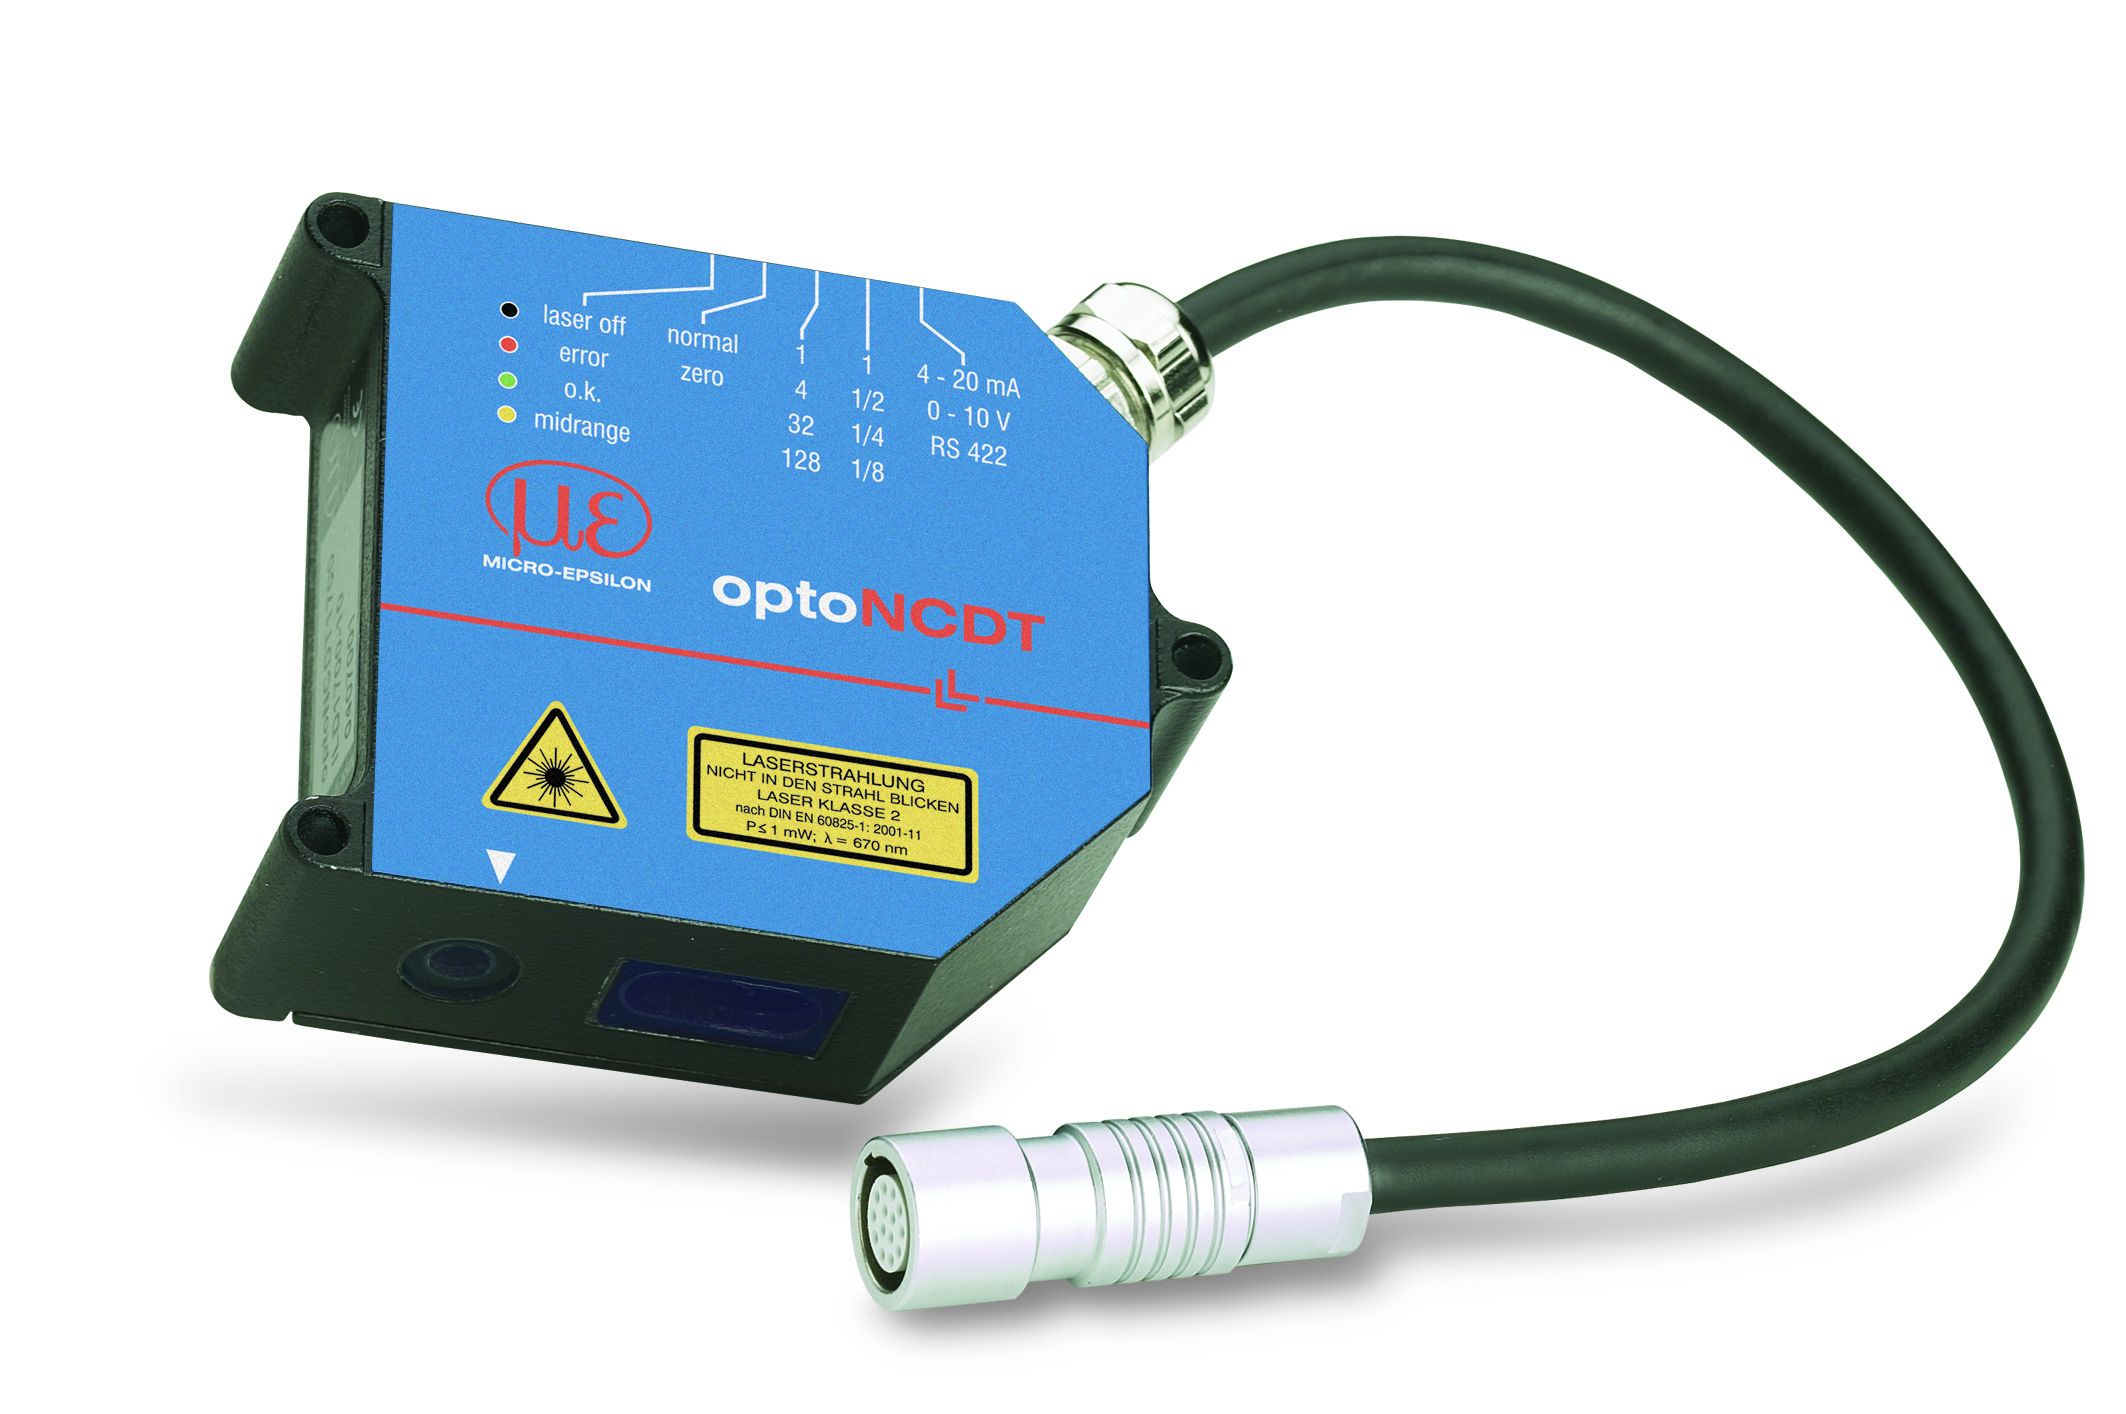 optoNCDT 1700LL
 OptoNCDT 1220 laser sensor
 MOBOT® AGV eRunner 003 mobile robot
 optoNCDT 1420
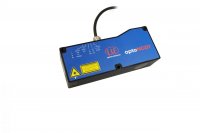 optoNCDT 1710/2310
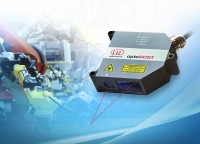 optoNCDT 1750
 optoNCDT 2300LL
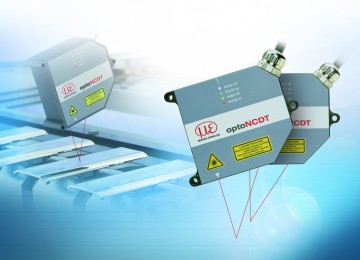 OptoNCDT 1750-2DR laser sensor
 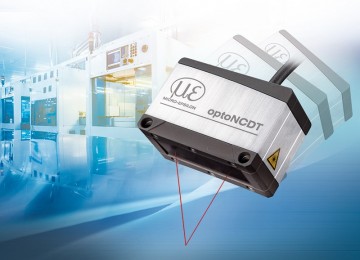 OptoNCDT 1900 triangulation laser sensor
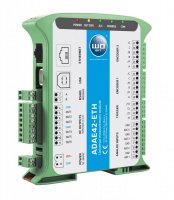 ADAE42-ETH Universal measuring module
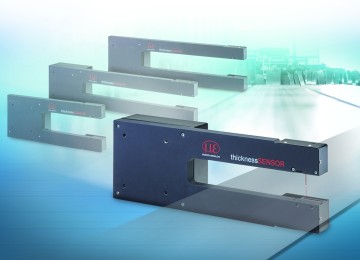 thicknessSENSOR - thickness measurement sensor
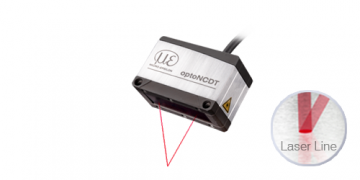 OptoNCDT 1900 LL triangulation laser sensor
 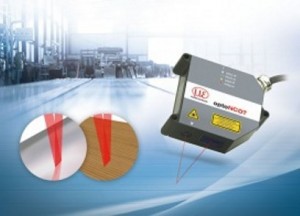 OptoNCDT 1750LL laser sensor

