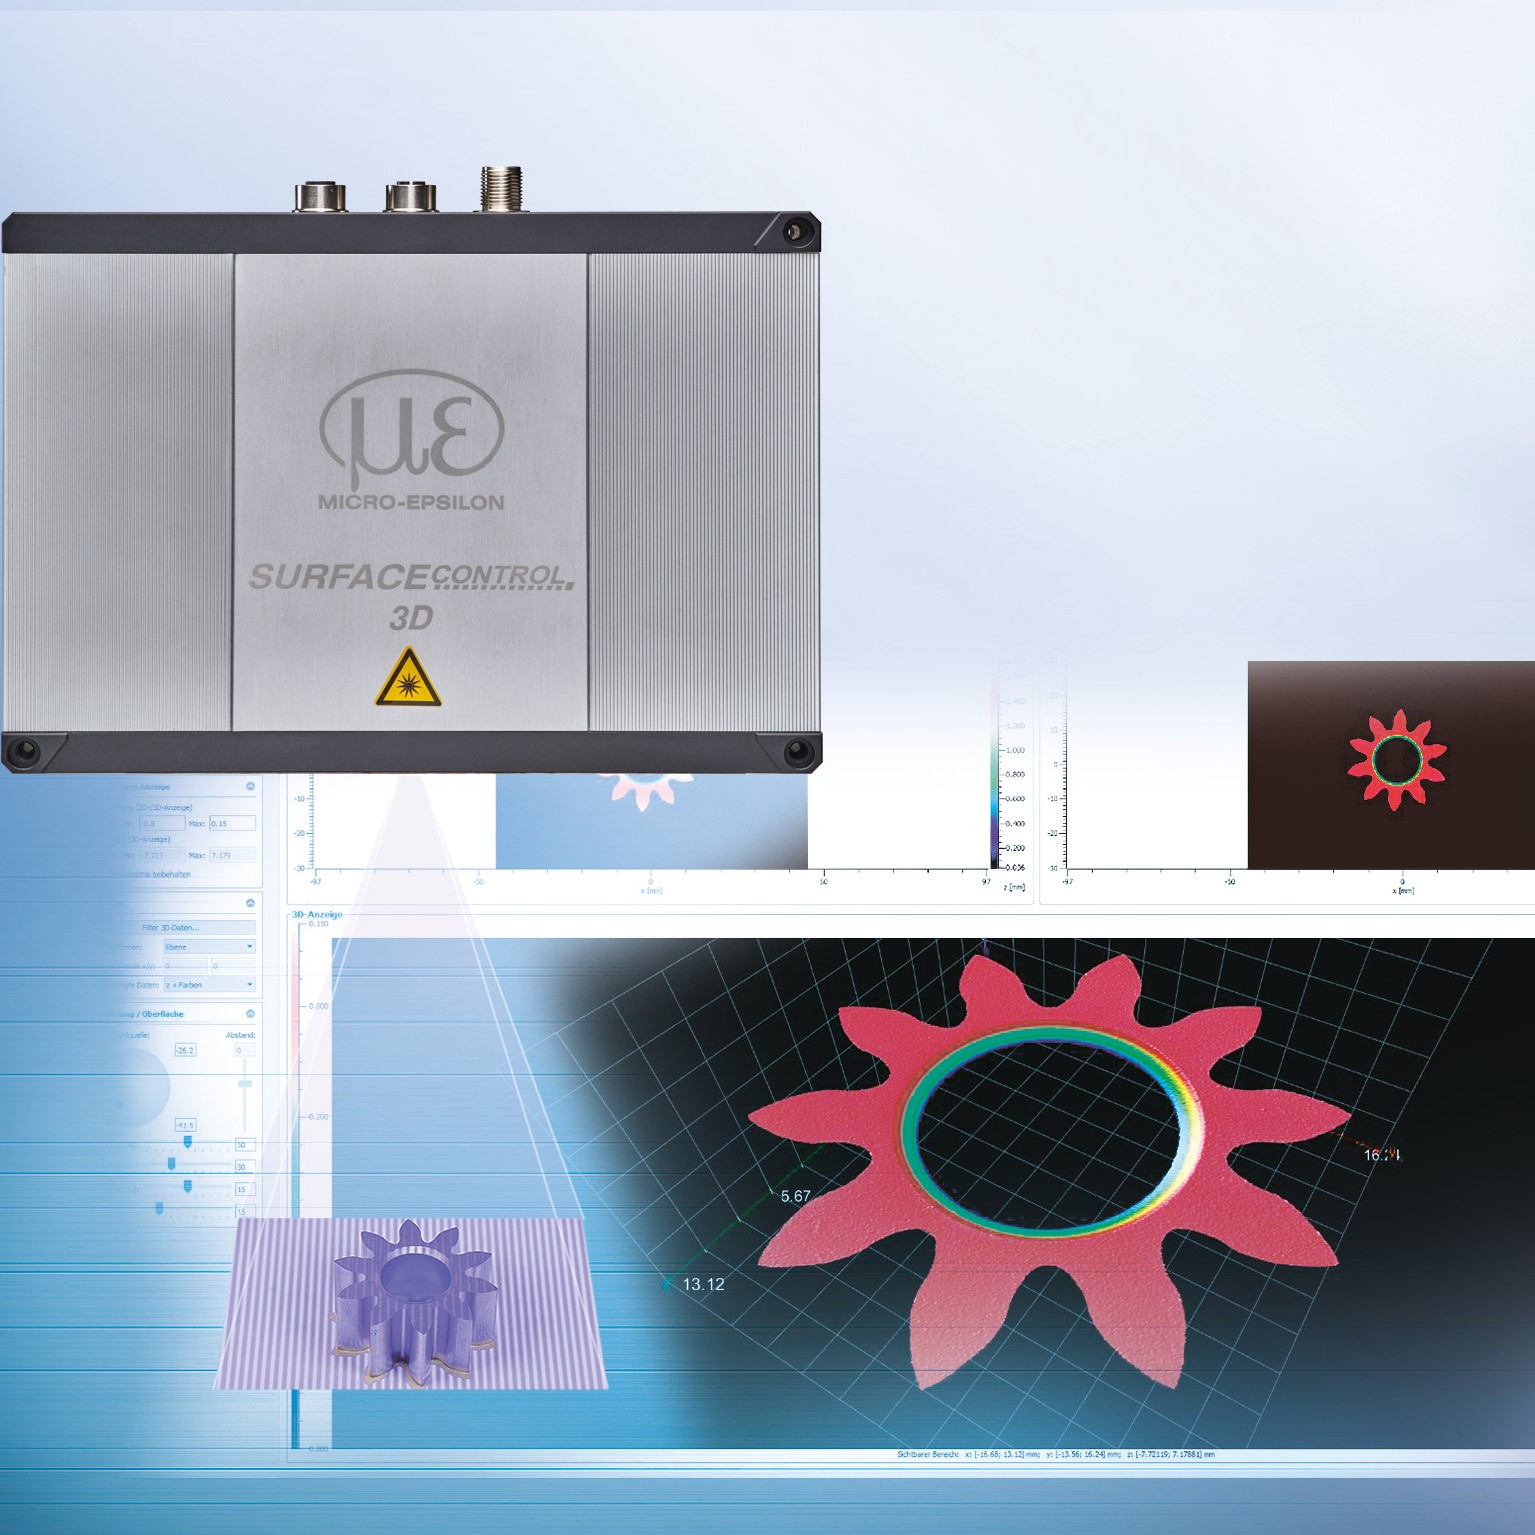
The WObit offer includes the innovative surfaceCONTROL 3D 3500 sensor by Micro-Epsilon, used for very precise 3D inline measurements. With a repeatability of up to 0.4 µm in the Z axis, it offers a new level of performance.The snapshot sensor enables real 3D evaluation of an object's geometry, its shapes and surfaces and is intended for inline measurements.At the same time, the new 3DInspect software provides a comprehensive software solution for the entire portfolio of Micro-Epsilon 3D sensors.
The new surfaceCONTROL 3D 3500 sensor from Micro-Epsilon is designed for high-precision inspection of various surfaces such as metal, plastic or ceramics. In just 0.3 seconds, full-area measurements are achieved via single snapshot for the inspection of geometry, shape and surface. While conventional systems work with 2.5D, Micro-Epsilon's Valid3D technology enables a full 3D evaluation.
With a z-axis repeatability of up to 0.4 µm, new standards in 3D measurement technology are achieved and the smallest of flatness deviations or height differences are detected reliably. The innovative 3D sensor is used for automated 3D measurement of hole spacing, flatness and coplanarity of precision mechanical parts and electronic components.
The scope of delivery includes the 3DInspect software, which is compatible with all 3D sensors in the Micro-Epsilon portfolio. The modern GenICam standard allows easy integration and high flexibility in the application. The surfaceCONTROL 3D 3500 works according to the principle of optical triangulation based on fringe projection. Using a matrix projector, a sequence of patterns is projected onto the surface of the measuring object. The light of the patterns diffusely reflected by the test object surface is recorded by two cameras.
The three-dimensional surface of the test object is then calculated from the recorded image sequence and the knowledge of the arrangement of the two cameras to each other. The entire measuring sequence from the execution of the profile register to the processing of the results takes only 0.2 seconds!
Do you want to know the technical details? Go to the product page or contact our advisor.


