Non-contact thickness measurement is one of the most commonly performed measurements in many companies due to advantages such as no wearing parts. Unlike tactile measurement, factors such as unfavorable temperature and mechanical wear do not shorten their lifetime.
In the article below, we'll focus on the main issues to look out for in basic material thickness testing. The analysis will be made on the basis of the ready-made Micro-Epsilon measuring system from the thicknessCONTROL MTS series used to measure steel sheet in the longitudinal cutting process.
Principle of thickness measurement
The principle of measuring thickness, and more precisely geometric dimensioning is based on the use of one optical distance measurement sensor on each side of the controlled material.
The distance of the working range of both sensors is determined in the calibration process on the basis of a certified measurement standard. Its thickness is added to the sum of sensor signals to determine the current operating range. The 2D sensor processes not only one measuring point. In the calibration process described above, the sensor coordinate systems installed in the upper and lower parts of the device are synchronized.
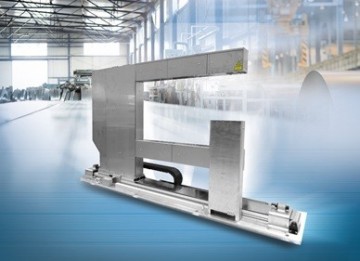
By measuring the thickness during production, the difference between the sum of the distance signals and the value of the working range is determined. The systems are mechanically designed in the shape of the letter "C" or "O". To obtain an accurate measurement, it is important that both laser beams are coherently projected on the upper and lower sides of the material. Minor deviations of the sensor assembly will affect the measurement precision.
The sensors are factory calibrated using an optoelectronic tool and a patented procedure, i.e. the linearity deviation is determined over the entire operating range and the correction function is calculated. Thanks to this solution, we get maximum performance in difficult working conditions of the measuring system.
Innovative "discrete laser line"
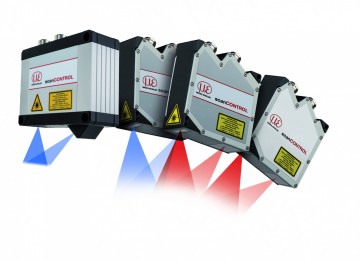
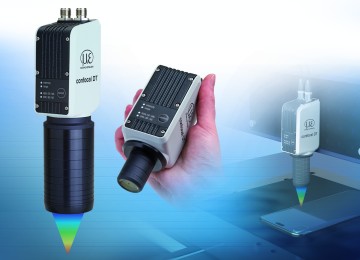
For optical thickness measurement, conventional laser point sensors , point confocal chromatic sensors and laser line sensors (profile scanners) . In this article we discuss in detail the last of these types of devices.
Unlike point sensors, laser line sensors use a static laser line that they display on the surface of the object being measured. The high-quality optical system projects the scattered light of this laser line onto a very sensitive sensor matrix, which detects during one measurement, depending on the type of sensor, a profile with 640, 1028 or 2048 measuring points. Based on this matrix image, the integrated controller calculates distance information (Z axis) and position along the laser line (X axis) in a two-dimensional coordinate system.
Resolution and measuring range
While the resolution of point sensors corresponds to the smallest measurable thickness change, triangulation of the laser line is much more complex. In this case, the resolution is not determined based on the assessment of one single point, but many points are taken into account, i.e. the entire profile, and the reference line fits the point cloud (best fit line).
Therefore, resolution is the smallest measurable change in thickness between the two corresponding reference lines. It is therefore higher compared to the point triangulation method using the same optical system, i.e. the same measuring range. The use of thicknessCONTROL MTS 820X.LLT provides a large measuring range at very high resolution, which is particularly beneficial in slitting applications.
Resilience in harsh industrial environments
Due to the high frequencies read from laser sensors, they proved to be very stable in harsh environmental conditions. In situations where there is a loss of 50% of the measurement points, e.g. due to steam, residual emulsion contamination or reflections on shiny surfaces, the usage point cloud reference line still generates very stable measurement values. Thus, it outperforms the technology of a classic point laser sensor.
Compensates for sheet metal movement
When processing sheet metal, it is wound onto a drum, positioned and measured appropriately, and then cut. Immediately after the correct positioning, the measurement is a key stage to ensure the expected result.
Compared to laser point sensors, triangulation measurement of the laser line offers better accuracy and stability. The angles of skewing, warping and deformation of the material are recognized by profile sensors and included in the measurement results. Thanks to this, the CONTROL MTS 820X.LLT system ensures high-quality thickness measurements with an accuracy in the micrometer range, even when the sheet being measured is several mm thick and is tilted.
Automatic calibration and temperature compensation
CONTROL MTS systems are equipped with automatic calibration at the place of measurement of the tested element and compensation of e.g. effects of temperature fluctuations. Depending on the application, this calibration can be used to set the reference or calibration element. What's more, the proper functioning of the system can be periodically confirmed at any time. The analytical software enables easy and quick verification of the measuring system capabilities, which can be automated depending on the application.
Example of a solution:
thicknessCONTROL 920x - a new generation of thickness measurement systems, designed for demanding applications operating in the most difficult environmental conditions, the "C-Frame" housing used in the most demanding work environments.
Model MTS 9202.LLT - characteristics:
- available: 8 configurations for width (up to 2500 mm) and material thickness (up to 100 mm),
- resolution: from 0.2 μm to 0.5 μm,
- accuracy up to 2σ repeatability: ± 2 to ± 5 μm,
- working temperature: up to 1200 ° C,
- author's version in the shape of the letter "C" according to customer requirements.
If you are interested in the article and see the need for thickness control, please contact our specialists. They will advise you what system will be right for your application. Contact here .
In the first photo, system thicknessCONTROL 920x
See our products
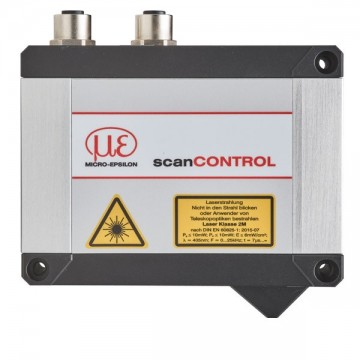 scanCONTROL 3000-200 laser scanner
 ScanCONTROL 3010-200 laser scanner
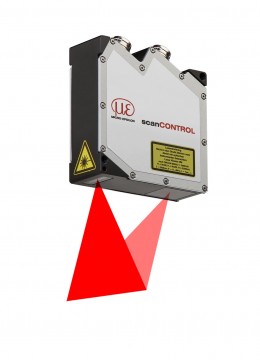 ScanCONTROL 2500-25 laser scanner
 scanCONTROL 3010-50 laser scanner
 ScanCONTROL 2500-100 laser scanner
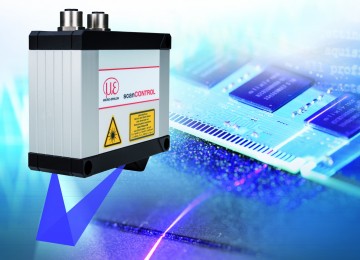 ScanCONTROL 3050-25 laser scanner
 ScanCONTROL 2510-50 laser scanner
 ScanCONTROL 3000-50 laser scanner
 ScanCONTROL 3010-25 laser scanner
 ScanCONTROL 2510-100 laser scanner
 ScanCONTROL 3000-25 laser scanner
 Skaner laserowy scanCONTROL 3050-50
 ScanCONTROL 2500-50 laser scanner
 Skaner laserowy scanCONTROL 3050-200
 ScanCONTROL 2510-25 laser scanner

.jpg)
.jpg)
